 Gluing the side to the tail-block. I used several clamps to get a lot of pressure.
  Then I used a ton of clamps on the sides.
 Not a great photo but this is the seam between the soundboard and the sides. The cardboard under the soundboard allows for the soundboard to keep it's bowed shape without breaking under the clamping pressure.
 I had to cut grooves in the kerfing (with a chisel) to allow the braces to fit snug.
 Top view after the sides are glued up. There is still a lot of over hang (the top over the sides) and the shape of the top isn't defined, but that will be fixed after the back is glued up.
 A few photos of the guitar with the sides glued on.
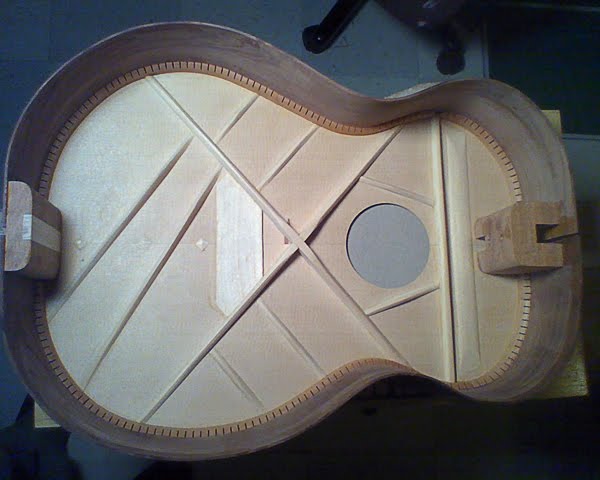 The sides will need to be carved flush with the mortise of the heel-block (also flush with the top).
 This is where the sides attach to the tail-block. I will place another light patch of wood here (Maple) after the back is glued on.
 I'll have to check back, but I don't know if I mentioned the difficulties I had getting the sides to match. I ended up having to clamp one of the sides in place for several weeks to get it to remember it's shape. It was tough getting to this point and I was afraid of messing something up. It was difficult for me to "pull the trigger" and actually put glue down. I'm glad I did now. Excited to get to the next step tonight!
No comments:
Post a Comment